

The ceiling is the largest uninterrupted surface in most rooms and the one people plan last, usually once the lighting positions have already been fixed and the options have narrowed to paint. Treated earlier, it carries the concealed lighting, corrects awkward proportions and gives a room its architectural character without occupying a centimetre of floor. Our villa interior design service page covers how the team develops ceiling detail alongside the lighting layout.
The ten rooms below show what a ceiling can do across apartments and villas, from fine plaster mouldings to exposed beams and slatted timber.
Working out the height you actually have
Every decision below starts with the clear height from finished floor to soffit. Below 2.6 metres, a dropped ceiling costs more than it returns, and the work belongs in a shallow perimeter cove or in the cornice. Between 2.6 and 3 metres, a 15 to 20 centimetre drop over part of the plan works comfortably. Above 3 metres, coffers, beams and full slatted treatments all become available.
Establish the service zone at the same time. Ducting, drainage runs and the depth of the light fittings decide how much of the drop is usable, and finding out after the frame is up means redrawing the ceiling around the plumbing.
1. Fine mouldings across an apartment
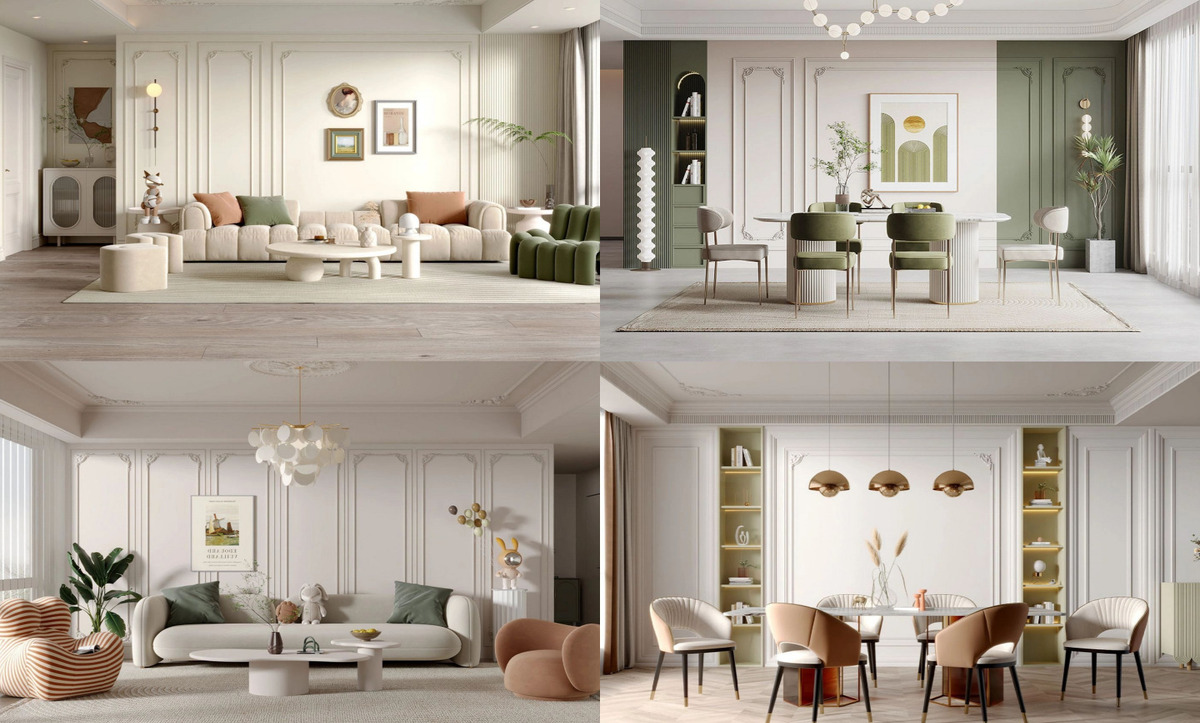
Rectangular plaster mouldings run across the walls of a living room and continue into a dining area, with a slim cornice at the junction and a ceiling rose centring the pendant.
Applied mouldings work when they follow a consistent grid. Set the panel proportions from the wall height, keep the margin at the top and bottom equal, and align the vertical joints with door casings rather than with furniture. Continuing the same detail from one room into the next holds an apartment together, particularly where the two spaces share an opening.
2. Cornices in a pale grey scheme
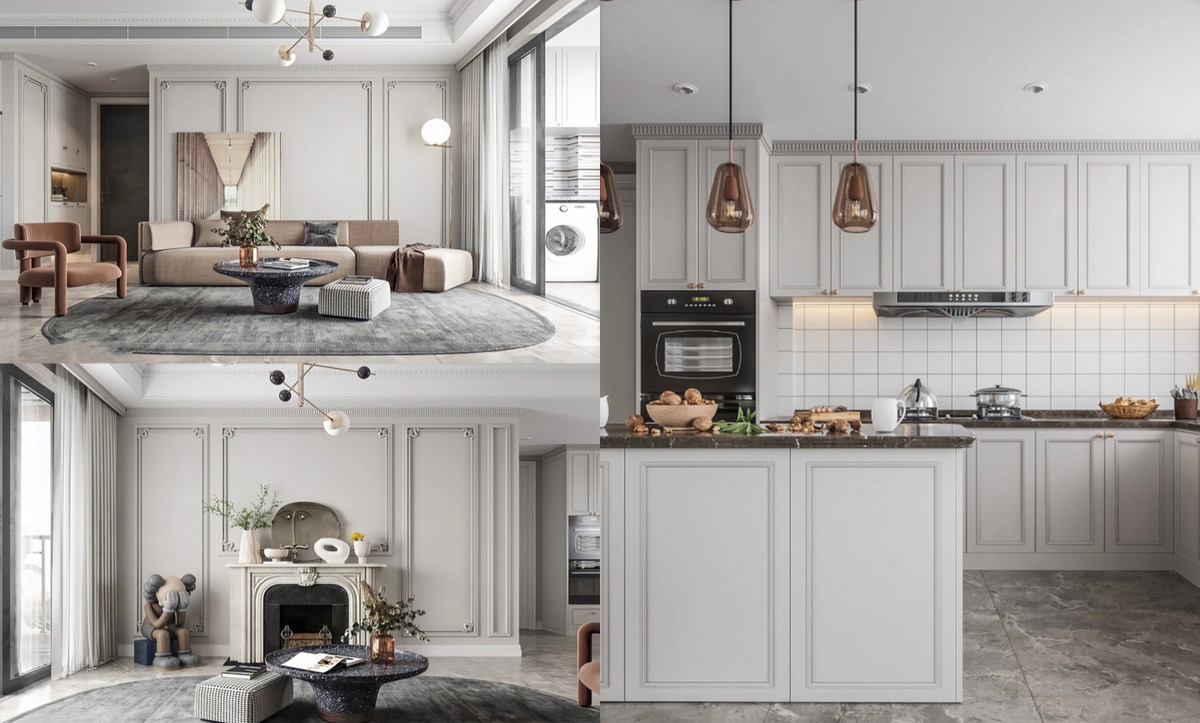
A grey-toned living room carries a moulded cornice at the wall junction and framed panels below, with the same detailing continuing into a small kitchen fitted with panelled cabinet fronts.
Cornices resolve the corner where wall meets ceiling, which is the least forgiving line in any room. Scale matters more than ornament: a 60 to 100 millimetre profile suits an apartment, while anything deeper needs the height to carry it. Painting the cornice in the wall colour rather than white keeps a low room from feeling divided horizontally. Our post on classic English interior design covers the traditional versions of these profiles.
3. A ceiling rose above a panelled bedroom
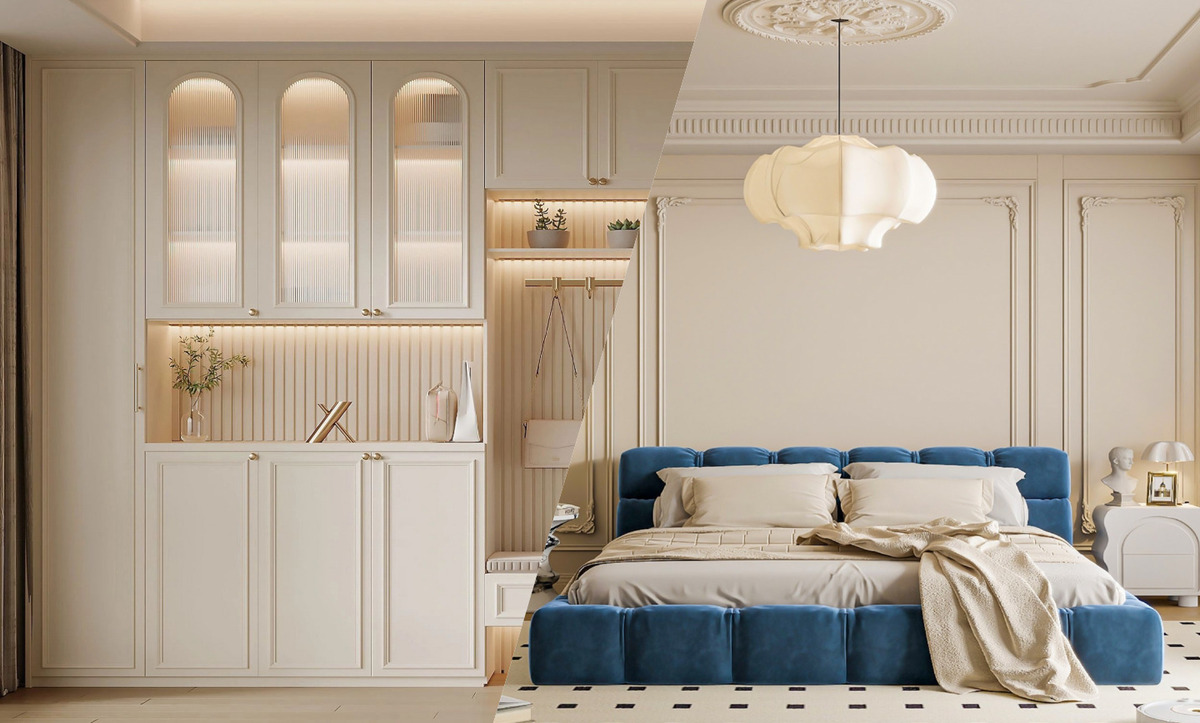
An ornate plaster medallion centres a sculptural pendant in a bedroom finished with corner mouldings and framed wall panels, with fluted and arched joinery in the adjoining dressing area.
A ceiling rose only works when it sits over something. Centre it on the bed or the light rather than on the room, and match its diameter to the fixture below — roughly one and a half to two times the width of the pendant. An oversized medallion above a small fitting reads as a leftover from another building.
4. A stepped and moulded ceiling in a formal room
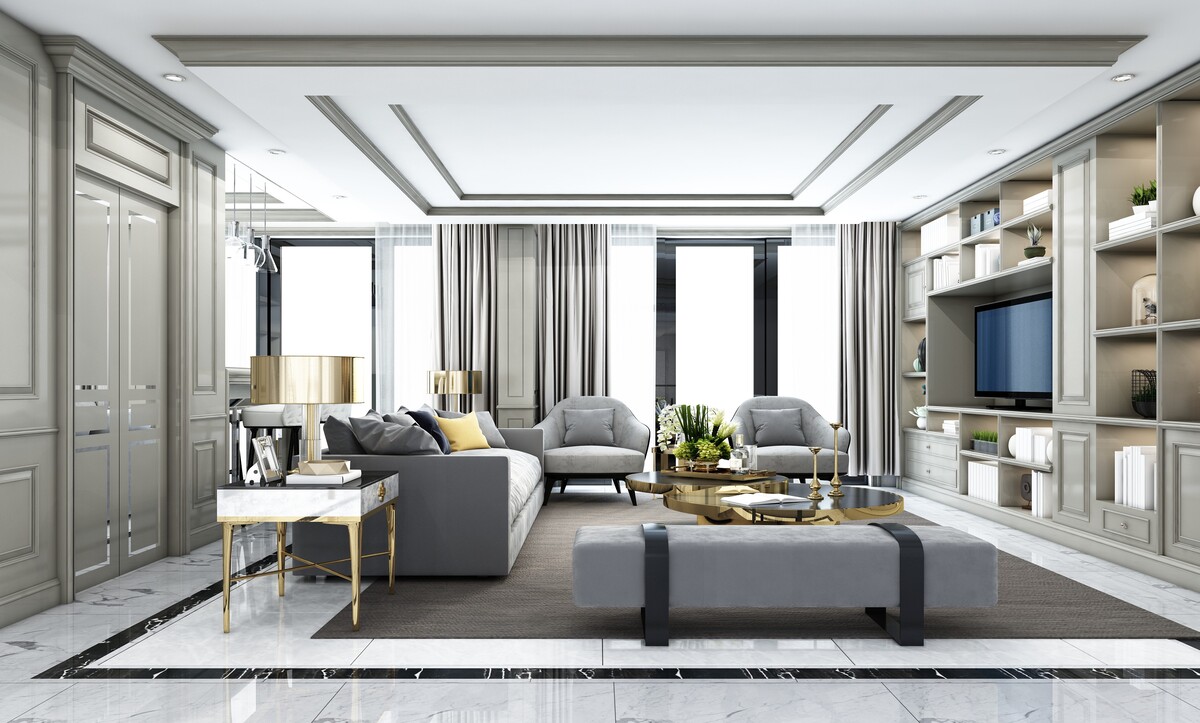
A recessed ceiling with layered moulding runs above a formal living room, its profile echoing the panelled walls and built-in joinery on either side.
Stepped ceilings suit rooms with a strong axis. Set the recess to align with the seating group rather than with the room's outline, since walls are rarely square in practice and the seating is what people see it against. Keep downlights out of the moulded band and inside the flat field, where they light the floor rather than grazing the profile.
5. Leaving the ceiling plain
A dining area sits against a timber-panelled wall with folding screens at the window, and the ceiling above stays flat and unadorned, carrying only a sculptural wall light and a slim fixture.
Some rooms already have enough. When a wall carries full-height timber and the windows carry patterned screens, adding a ceiling treatment competes rather than contributes. The general rule: give the ceiling detail when the walls are quiet, and keep it plain when they are not.
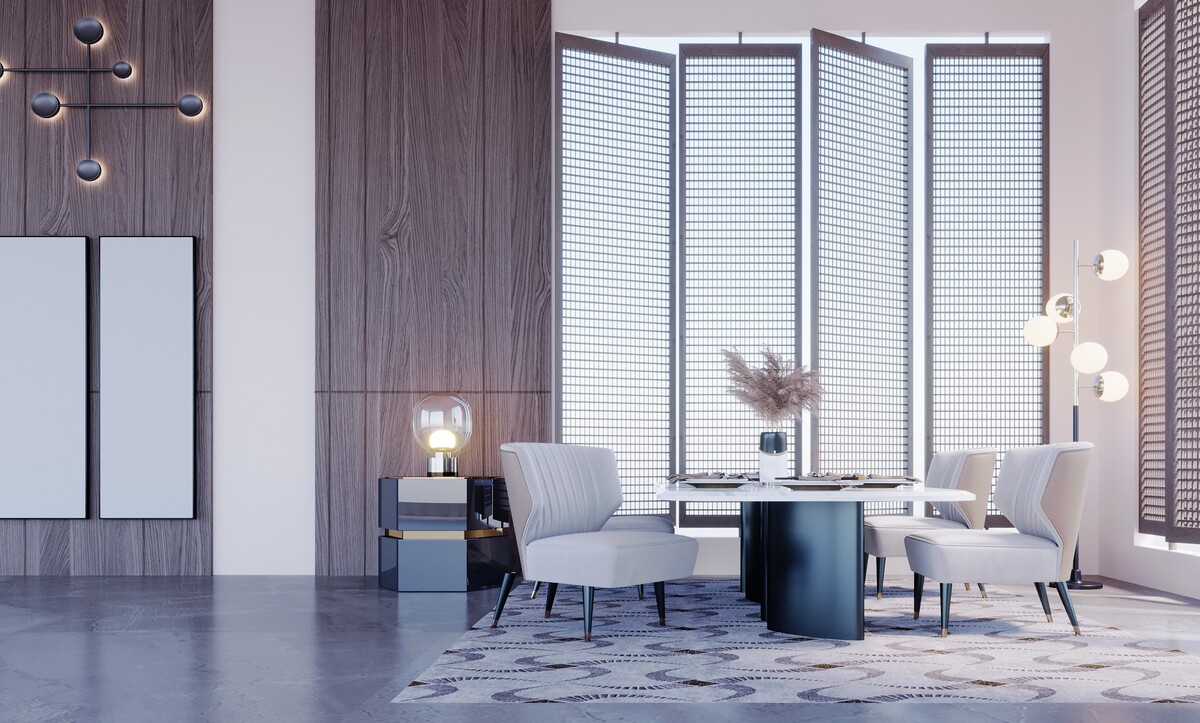
6. A perimeter cove with concealed lighting
A seating corner sits between two windows, with a shallow recessed cove running the full perimeter of the ceiling and warm concealed light washing down the walls.
Cove lighting is the most useful ceiling detail in an apartment, since it needs 10 to 15 centimetres of drop and transforms the light quality entirely. Set the LED strip back at least 5 centimetres from the front edge of the cove so the source stays hidden, and keep the strip continuous — visible gaps between segments show as scallops on the wall. Our guide to multidimensional lighting covers how this layer works with the others.
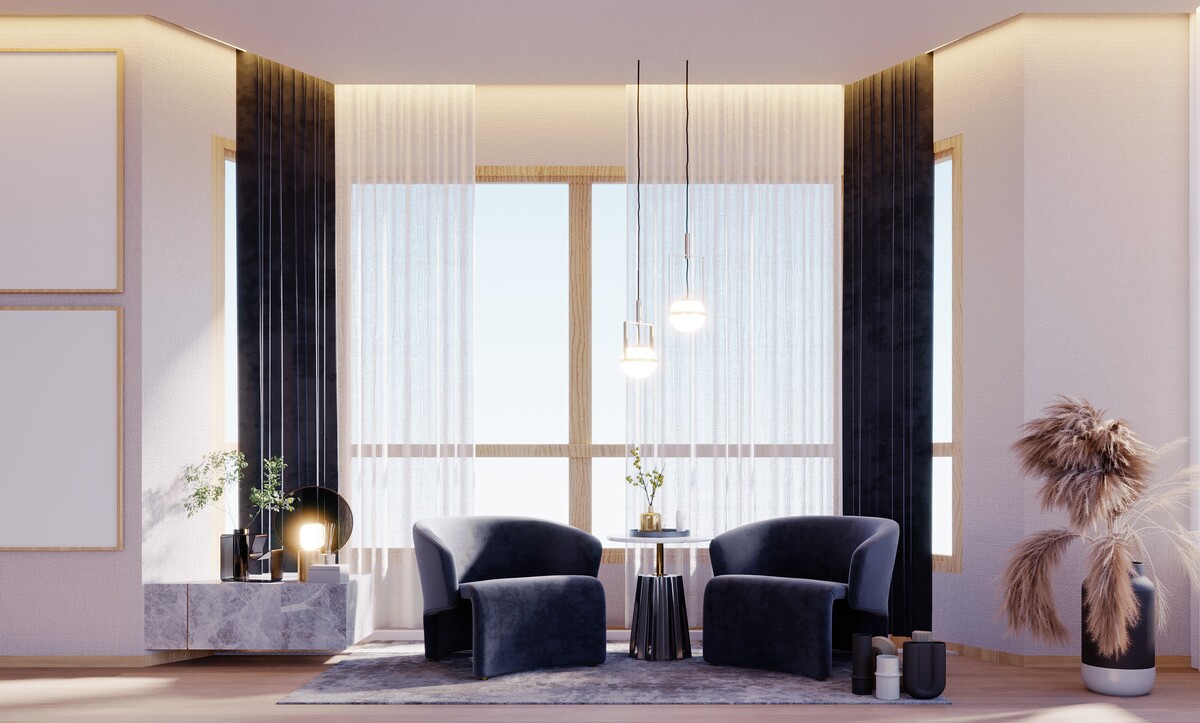
7. Exposed timber beams
Dark timber beams cross a pale living room at regular intervals, with an arched window at one end and timber-lined niches flanking a plaster fireplace.
Beams give a room rhythm and a sense of structure. Run them across the shorter dimension to widen a narrow room, and keep the spacing consistent — irregular spacing reads as a structural accident rather than a design decision. Stain them several tones darker than the flooring so the two timbers stay distinct.
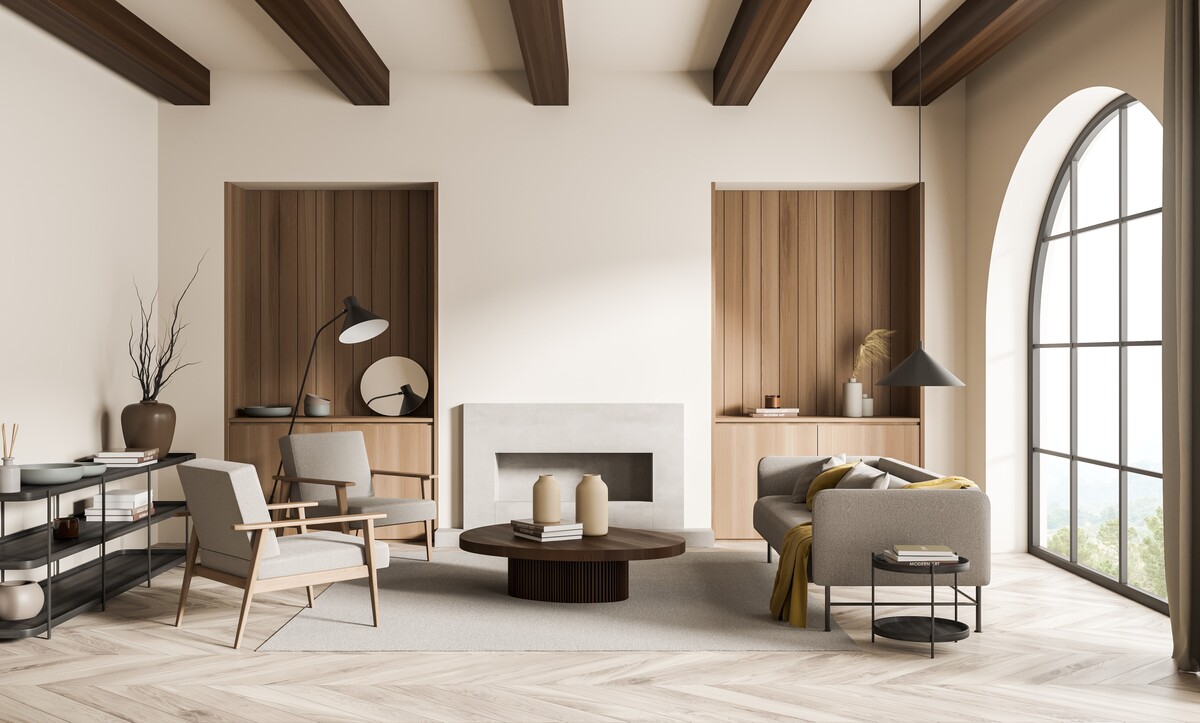
8. A slatted timber ceiling panel
Timber slats form a rectangular panel above a seating area, with concealed light running between them and the surrounding ceiling left flat.
A slatted panel defines a zone without a partition, which makes it useful in open plans. Keep the slat depth at 40 to 60 millimetres so the shadow gaps read clearly from below, and light between the slats rather than beneath them. Acoustically it helps as well: the broken surface scatters reflections in rooms with hard floors.
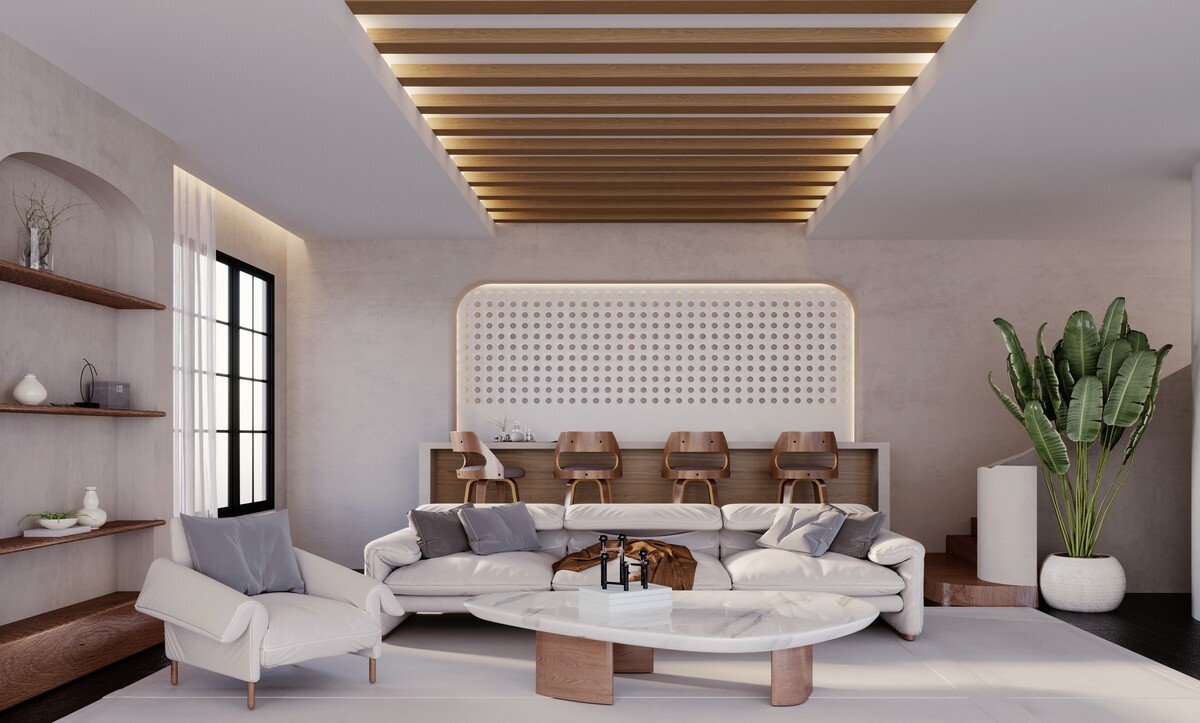
9. A recessed linear detail in a quiet room
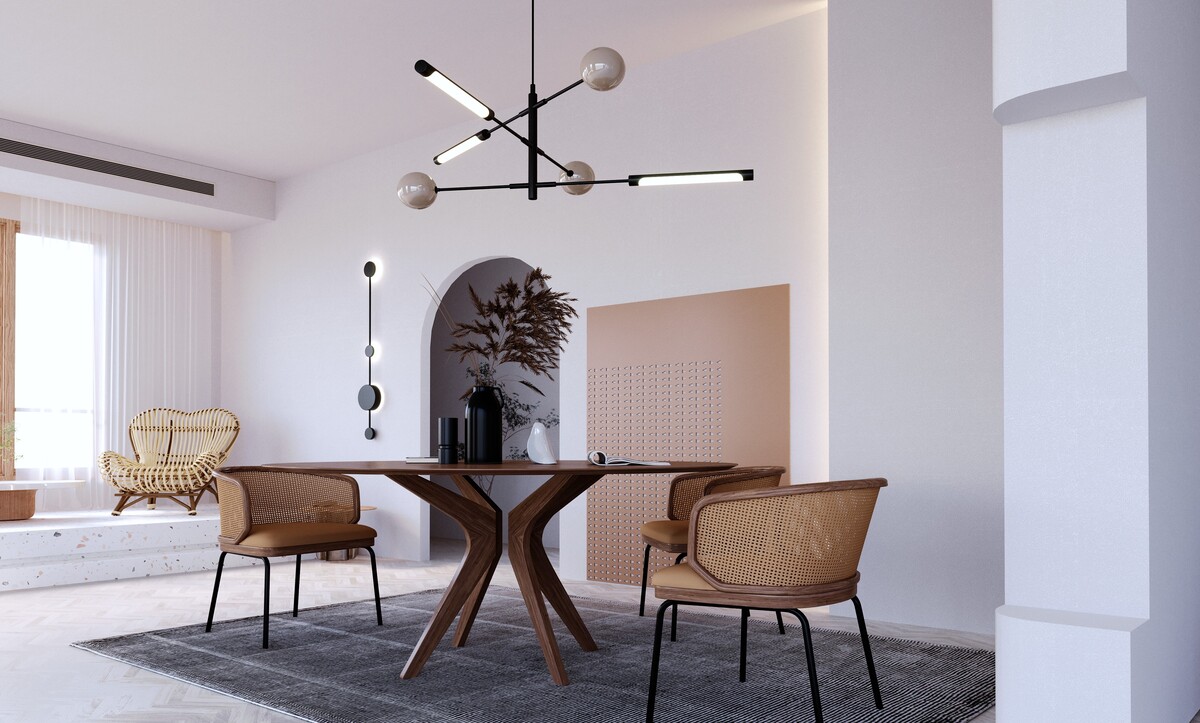
A dining area sits beneath a plain ceiling carrying one slim recessed linear element, with an arched wall niche and a perforated screen supplying the interest at eye level.
Minimal ceilings need precision rather than ornament. One recessed line, set parallel to a wall and centred on the table below, does the whole job. Anything imprecise shows immediately on a flat white plane, so the setting-out of a single detail matters more here than a whole cornice elsewhere.
10. A tray ceiling in a double-height room
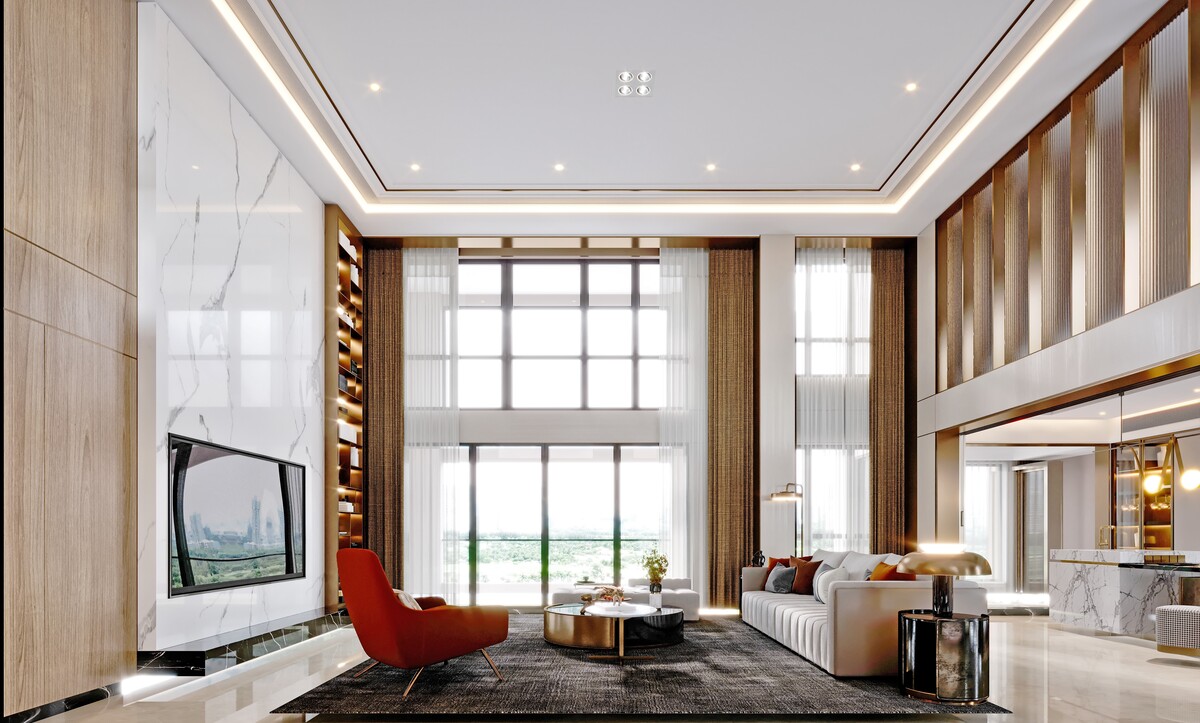
A recessed tray with a brass trim line and concealed cove lighting runs above the seating area of a double-height living room, with full-height glazing and a marble media wall alongside.
Double-height rooms need the ceiling to bring the scale back down over the furniture. A tray dropped over the seating group alone creates a defined ceiling at a human height while the volume stays open elsewhere. The brass trim gives the cove a clean edge and catches the concealed light, which is what stops a large white tray from reading as blank. For related treatments, see our tips for decorating ceilings.
Sequencing the work
Ceiling detail comes early in the programme and late in most people's thinking, which is the source of the usual problems. Fix the lighting positions and the ceiling geometry together, before first fix, and confirm the service depths with the mechanical contractor. Plaster mouldings need a settled substrate, so allow drying time before painting, and specify the paint sheen deliberately — matt on a flat ceiling hides undulation, while anything with sheen reveals every one of them.
Planning a villa or apartment interior? The Algedra team works across interior design, architecture and landscape from a single studio, with projects in Istanbul, Dubai, Doha, Riyadh and the wider Gulf. Get in touch to discuss your project, or explore our villa interior design service to see how we develop ceiling and lighting design from concept through to installation.